Don’t throw away broken garden tools!
Replacing a broken handle can often be done easily and at less than half the cost of a new tool. Also, there are times when an old or specialty tool cannot be found to purchase. In most cases the tool should be repaired instead of thrown away. Replacement handles for common tools can be found alongside the tools in hardware stores and home improvement centers. Less common replacements may have to be sourced online.

This triangular garden hoe cost about $22 brand new. The replacement handle cost $8 at Home Depot. I chose to replace the handle because I couldn’t find a new triangular hoe in any store near me. It took about five minutes to knock the head off the broken handle with a hand sledge and pound it into the new handle. The process is similar for any number of tools which have a metal shaft which fits into a pre-drilled hole in a wood handle (such as garden rakes and manure forks), although the particular handle may differ somewhat. Now the tool is even better for me than new because I am tall and was able to use a 60″ replacement handle and the original was only 54″. The upgrade was absolutely worth the minimal effort.
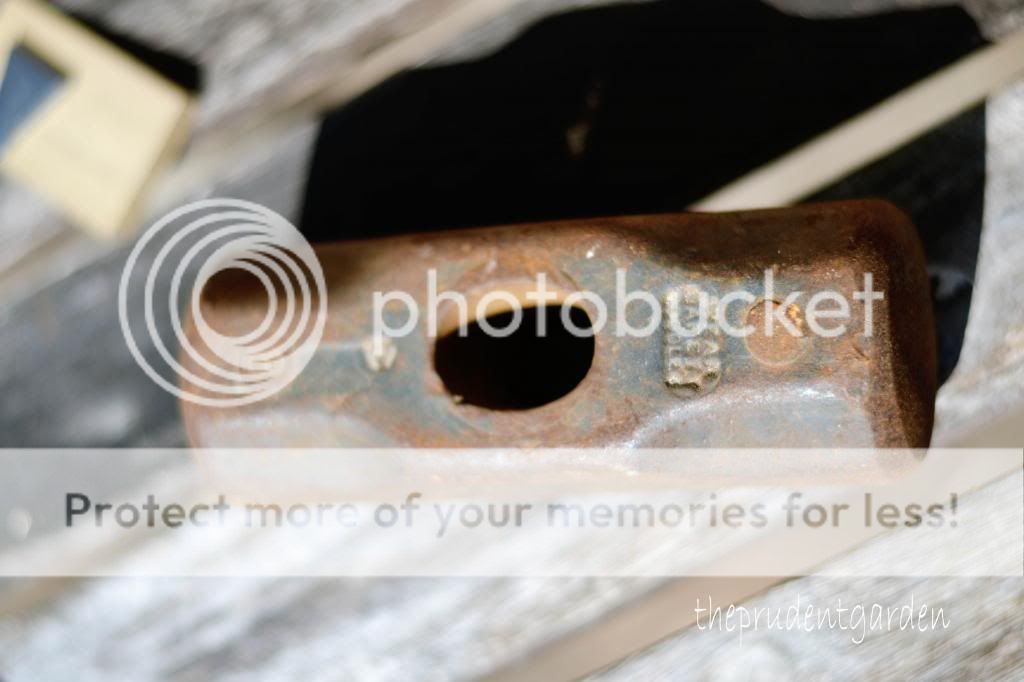
I found this sledge hammer head in Debbie’s mom’s back yard when I was doing some Bobcat work. Apparently someone lost it years prior, and the head laid in the edge of the woods buried under six inches of leaves and pine needles. An eight pound chunk of steel doesn’t rust away quickly. The new handle cost $13.
How to Replace the Handle
Supplies:
New handle kit
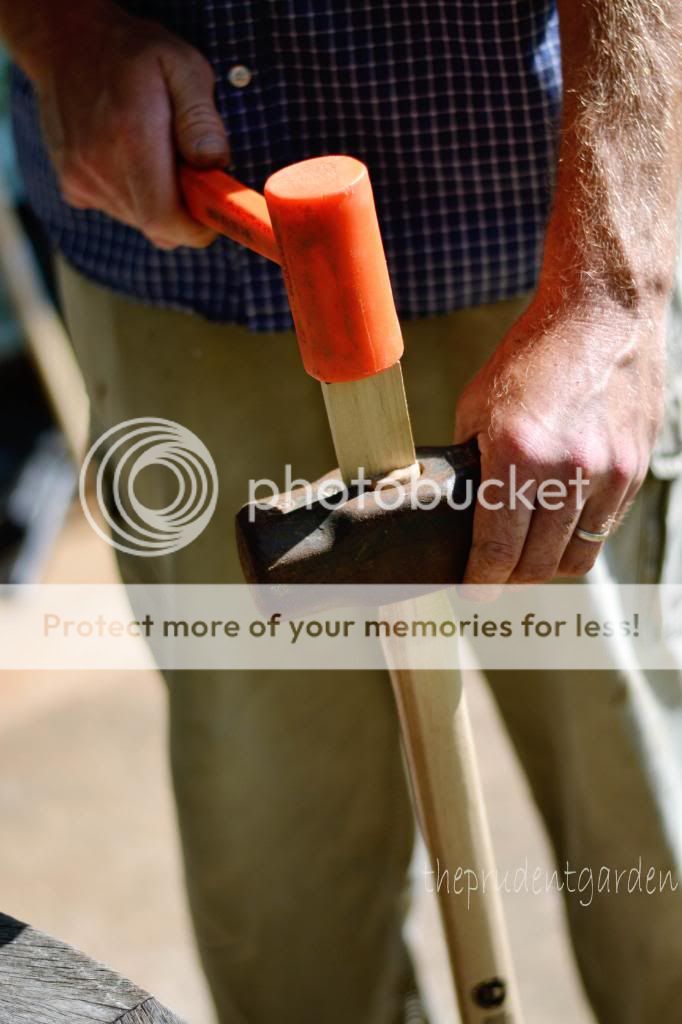
Mallet
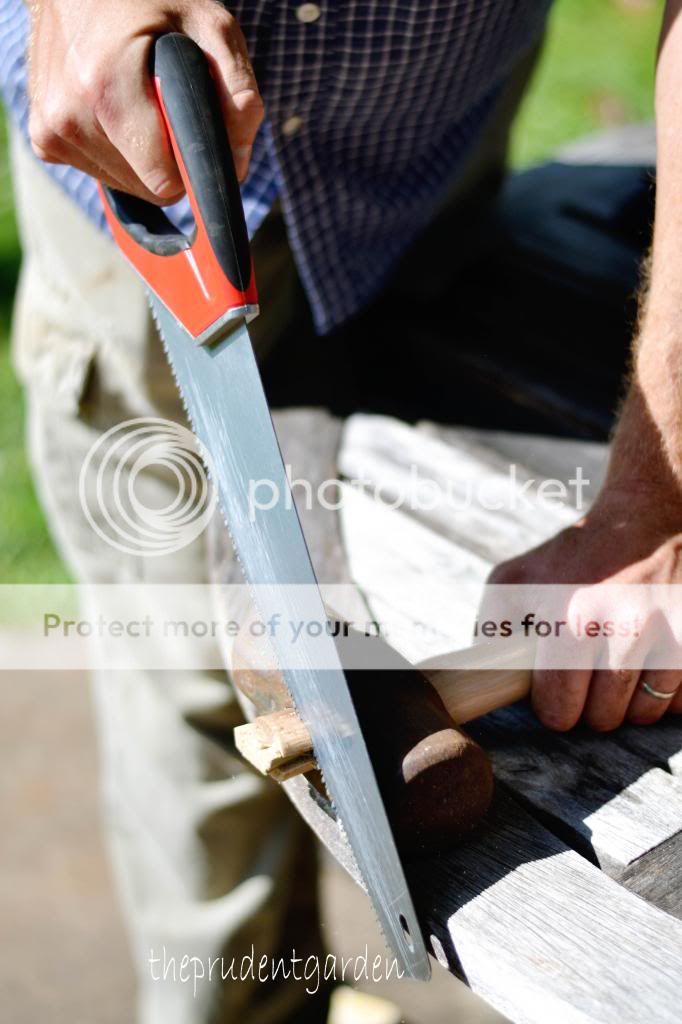
Hand Saw
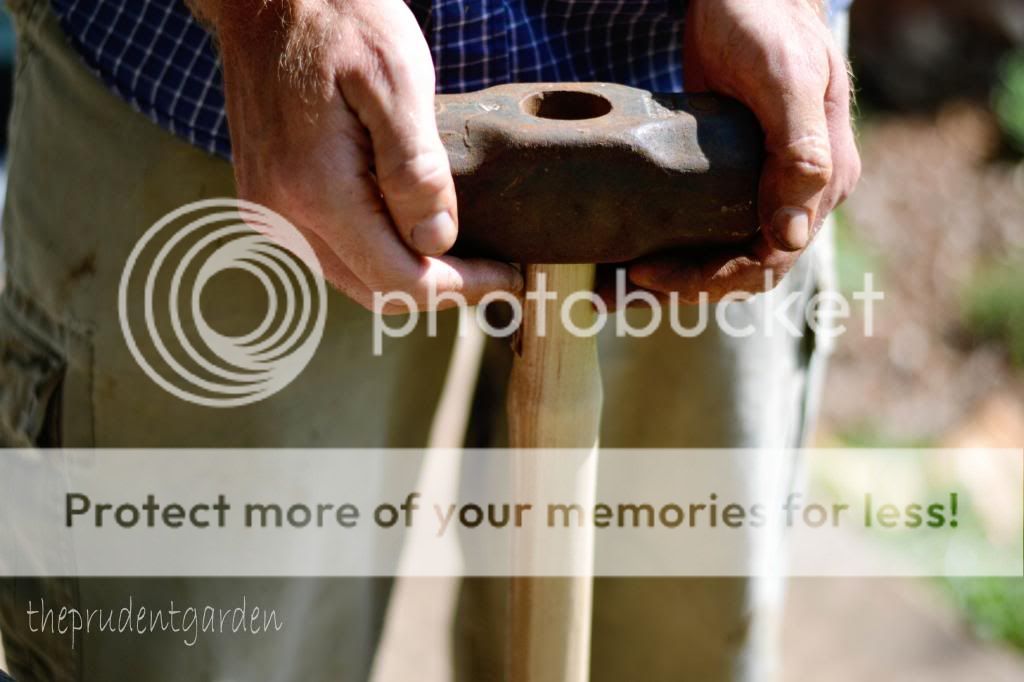
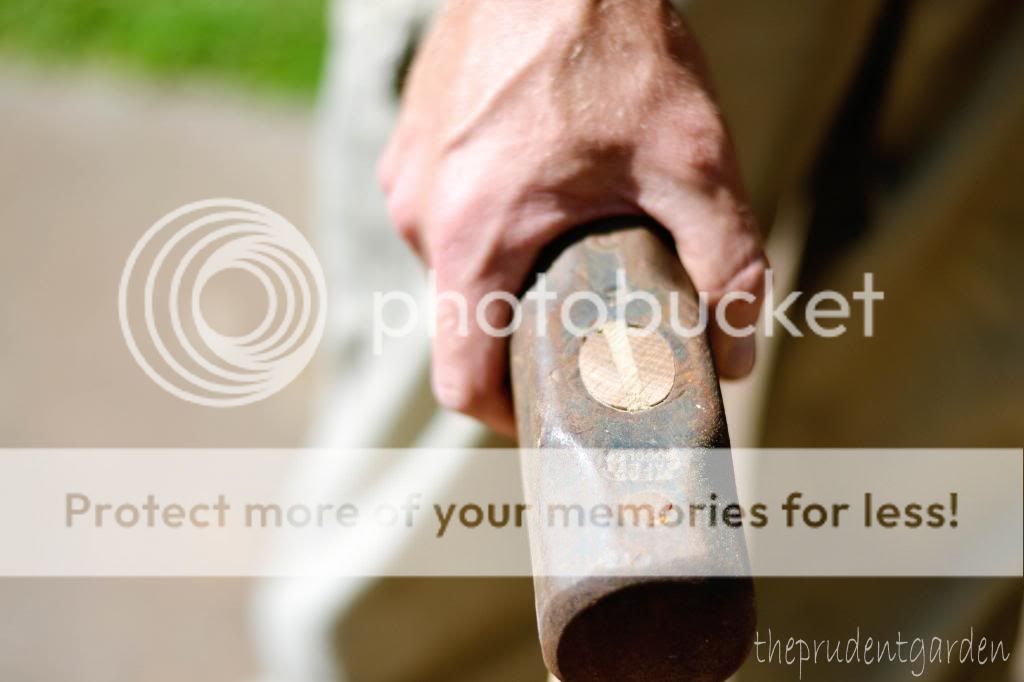
I slid the head onto the handle as far as it would go then bumped the base of the handle on the floor to make sure it was well seated. This left about half an inch of handle sticking through the head.
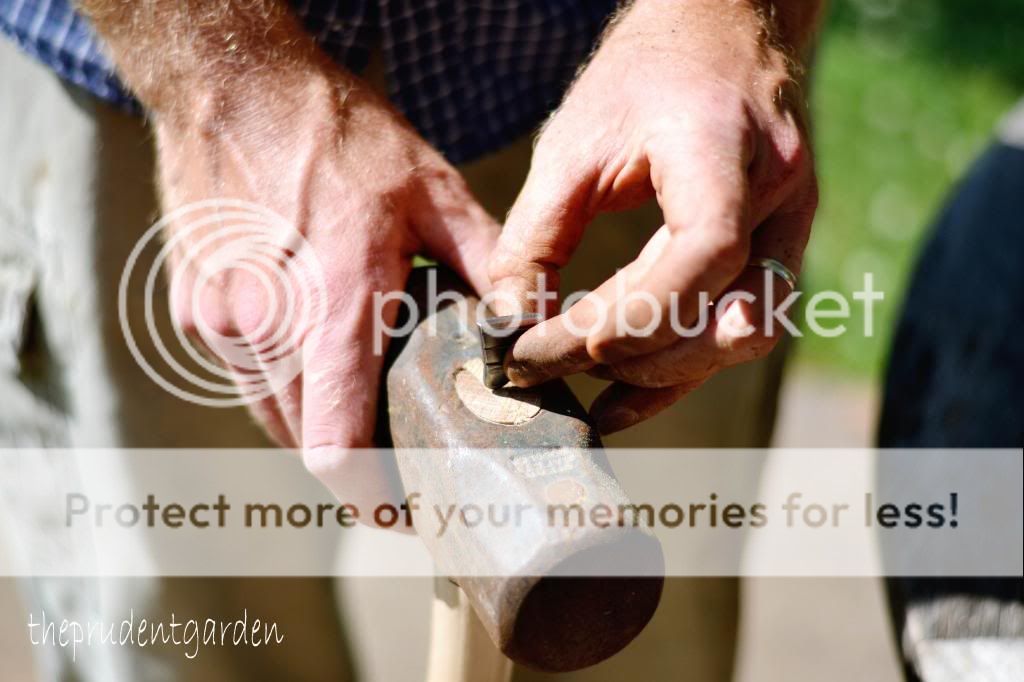
Next I placed the wood wedge into the split in the top of the handle.
 |
Some garden tools like shovels will generally take a bit more effort, as there are rivets involved. There are more tools needed in order to replace them. It’s still with the effort if you have the time to devote to the project.
Keep a look out for old gardening tools at garage sales and flea markets. It’s well worth the effort to replace the handle on a older tool that is well made than purchasing a cheaply made new tool.
Happy Gardening!
2 thoughts on “Replacing the Handles of Garden Tools”